Pokemon Site Navigator
Inspiration
When I was growing up I was a huge fan of playing the pokemon games. Every kid my age was obsessed with the franchise. The nostalgia of playing gold version on my gameboy color is very strong my friends. All I needed was a well lit corner and some batteries, and I was all set to enter the world of pokemon. As I grew older I got my fix by playing modded version of the games developed by like minded fans. The fact that people could put their own twist on something we all cherished, like the Kanto region was everything the middle school version of me could’ve dreamed of. Although I didn’t end up developing my own pokemon game, this was the first time I truly enjoyed the process of seeing code functionally influence something I cared about. It was the first time I sincerely felt an interest to learn about the code running under the hood.
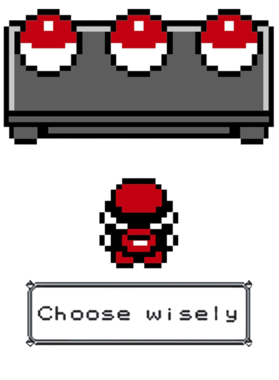
This is why when I was thinking of ways to get my portfolio to stand out, manipulating the assets of a pokemon game seemed like a genuine idea.
How I made it
I started by following walkthough I found on making an rpg known as Pizza Legends. What attracted me to the idea was that this tutorial was actually written in Javascript. Since I was about to start my bootcamp at Flatiron School, I figured this would be a great way to become familiar with language, as it’s the first thing they teach their students.
I honestly learned so much from watching this youtube series. It had me make constructor classes to represent things like objects, and sprites. This was the project I made where I actually enjoyed seeing my code interact with my input. After learnomg how to iterate through a sprite sheet to create an animation effect, I knew I was hooked.
After replacing the game assets that came with the tutorial with Pallet Town from Pokemon Fire Red, and remapping the sprite sheet to align with the walk animation of the player, I was mostly done. The last thing left was for me to map this blog/portfolio to the doors of the buildings.
For this I had to figure out how to isolate a specific coordinate on the grid and set it to trigger as the player steps there. This was a bit tricky at first but once I figured it out it was pretty straightforward. Because whole game screen happens on a canvas with specified dimensions, I had a number assigned to each location already.
The reroutes I assigned look like this:
cutsceneSpaces: {

            [utils.asGridCoord(7, 7)]: [
                {
                    events: [
                        { type: "changeMap", url: "https://physicalrobot.github.io/code_blog/" }
                    ]
                }
            ],
            [utils.asGridCoord(16, 7)]: [
                {
                    events: [
                        { type: "changeMap", url: "https://physicalrobot.github.io/code_blog/navpages/codenav/" }
                    ]
                }
            ],
            [utils.asGridCoord(17, 13)]: [
                {
                    events: [
                        { type: "changeMap", url: "https://physicalrobot.github.io/code_blog/navpages/portnav/" }
                    ]
                }
            ]
Overall this was a really fun project. I didn’t have much experience coding at the time so I really took this as a challenge to see if this field was really for me or not. I did take a course on Javascript prior to following the Pizza Legends tutorial series, but it was just enough to help me follow along his logic. I’d say I’m rather proud of the outcome, and I’m happy to have fully realized a concept I initially dreamt of. Feel free to play around with it by clicking Profile Town on the top right. If you’d like to check out the code you can actually visit the github repository by clicking the image below.